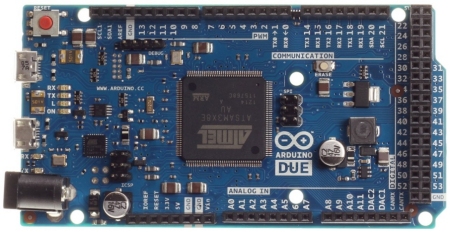
The Arduino Due is a well know
board.
The devCad Team developed a totally new Firmware, optimized for Arduino Due.
This firmware will be stored inside Arduino Due directly on devCnc Foam
startup, when you select it as the actual controller.
Using this setup you can:
-
Build your own controller, adding the
preferred stepper drivers, limit switches and an optional HotWire
management circuit/board.
-
Build an Usb interface to an old
parallel port controller
Please note: the Arduino
Due pin voltage is 3.3 v. So you cannot use a standard Ramps 1.4 shield and you
must verify your steppr driver will commute well at that voltage. Also don't
apply 5.0 v to input pins, this can damage the board.
Build your own controller
This can be a good choice if you want for
example to use more powerful stepper drivers, referred to the ones supported by
the Ramps shield.
To do that You must just wire the right pins of Arduino Due to your preferred
stepper drivers, you can see the pin map table in the bottom side of this page.
You can also add separated limit switches for every axis, like for the Ramps
case.
To optionally drive the Hotwire you can use the digital pin 8, and apply to it
your circuit/board. It can be for example an electronic switch or a mosfet
circuit. Read carefully the Arduino Due data sheet.
Build an Usb
interface to an old parallel port controller
If you own an old style parallel port
controller, and you want to build an Usb interface, using this option is a
simple way to go.
The pin out of Arduino Due in this case follow the most common pin in of
parallel port controllers, so the wiring is very simple, also a flat dupont 12
pin cable can be used.
According to your parallel port controller setup you can also wire its limit
switches and Hotwire control, if available.
Of course check well the manual of your controller, to have the right setup.
Then, all what you must do is:
At this point all the firmare setup will
be performed by devCnc Foam, you must only set the right Steps per MM values of
your Cnc, see the "Motors"
page of the "Settings dialog".
You can find here more info
about the pin out map of Arduino Due:
| XL step |
pin 23 |
| XL dir |
pin 25 |
| YL step |
pin 27 |
| YL dir |
pin 29 |
| XR step |
pin 31 |
| XR dir |
pin 33 |
| YR step |
pin 35 |
| YR dir |
pin 37 |
| A (rotary) step |
pin 39 |
| A (rotary) dir |
pin 41 |
| XL enable |
pin 22 |
| YL enable |
pin 26 |
| XR enable |
pin 30 |
| YR enable |
pin 34 |
| A (rotary) enable |
pin 38 |
| XL limit |
pin 50 |
| YL limit |
pin 51 |
| XR limit |
pin 52 |
| YR limit |
pin 53 |
| HotWire |
pin 12 |